Your Cart is Empty
Note: These instructions are for all of the Daddylab Stems (Quill, and Stem Adapters) for Strider Classic, Sport, and Pro models. Exact product may vary in the photos but the installation is the same.
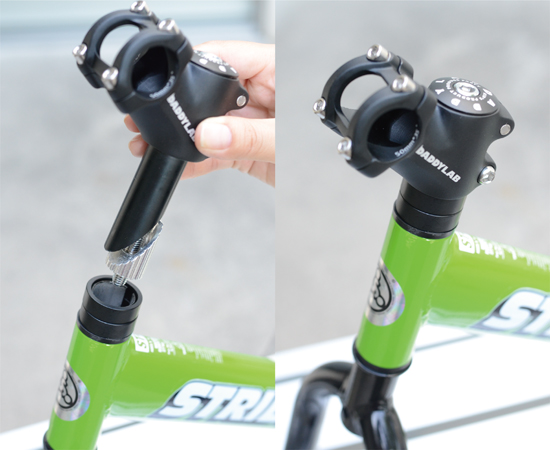
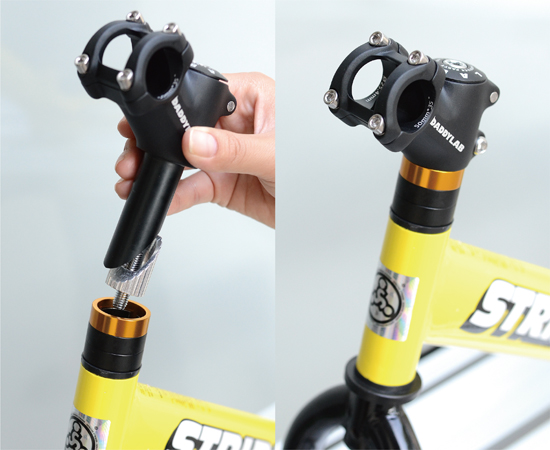
❷ Insert the stem into the front fork with the stem attached to the stem adapter body.
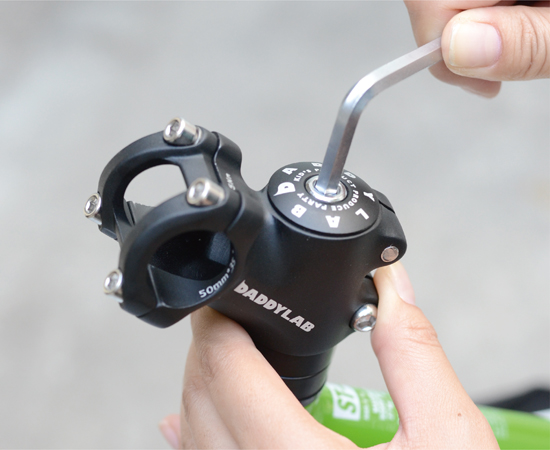
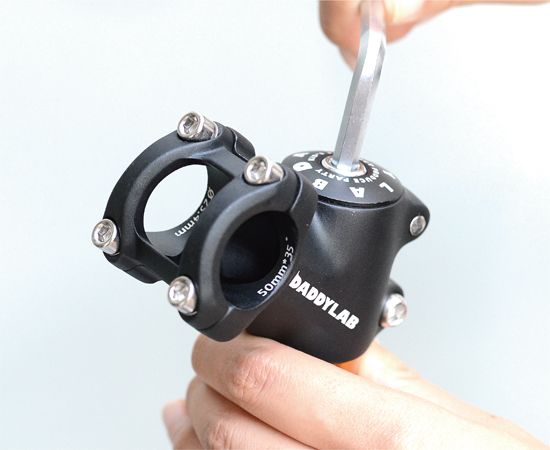
❸ Position the stem in the center, tighten the anchor bolt of the stem adapter and fix it. (Required tool: 6 mm hex wrench)
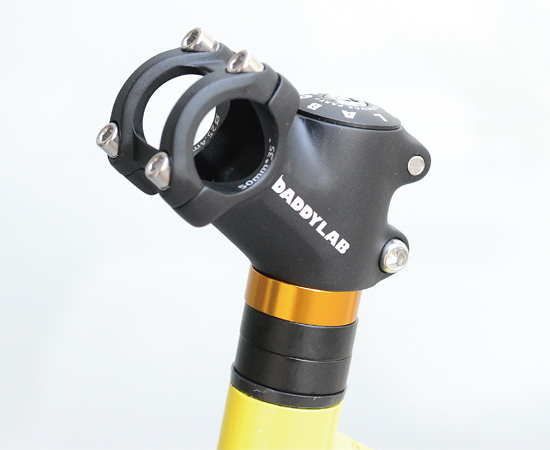
Installation complete

It is also possible to use an optional color aluminum spacer instead of the included spacer.
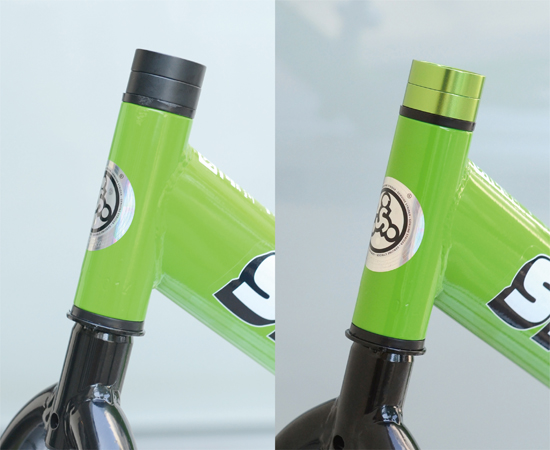
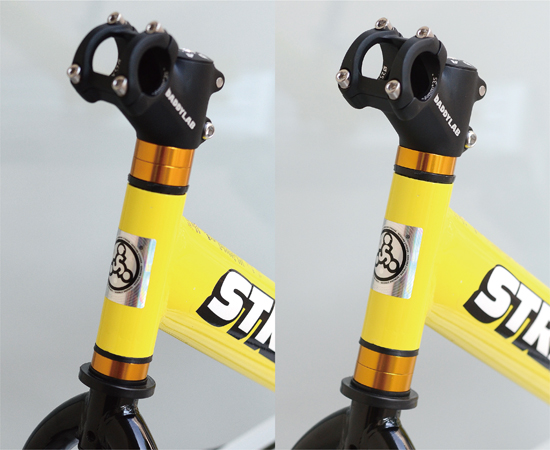
It is also possible to the spacers above and below the front post column.
(Left: 2 on the column / right: one at the top and bottom of the column)
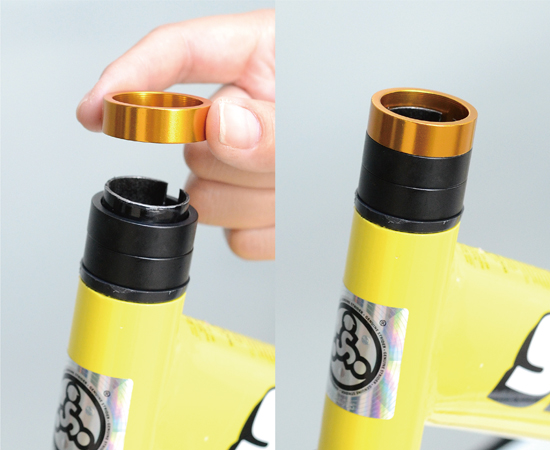
※ To install, you need to add 1 spacer (sold separately) to 2 attached spacers. (Number of spacers used: 3 total / 1 unit)
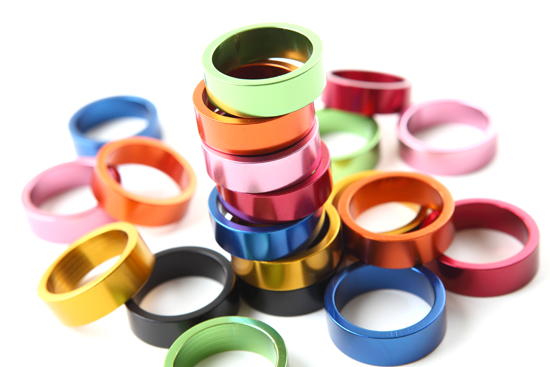
Color spacer (sold separately) All colors 8 colors
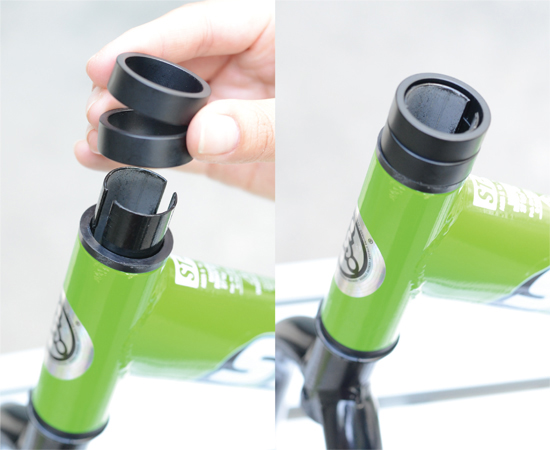
❶ Include the spacer (2 pieces) and the optional spacer (1 piece) attached to the projecting portion of the front fork, covering a total of 3 spacers.
❷ Insert the stem into the front fork with the stem attached to the stem adapter body.
❸ Position the stem in the center, tighten the anchor bolt of the stem adapter and fix it. (Required tool: 6 mm hex wrench)
Installation complete
Reference> It is also possible to use an optional color aluminum spacer instead of the included spacer.
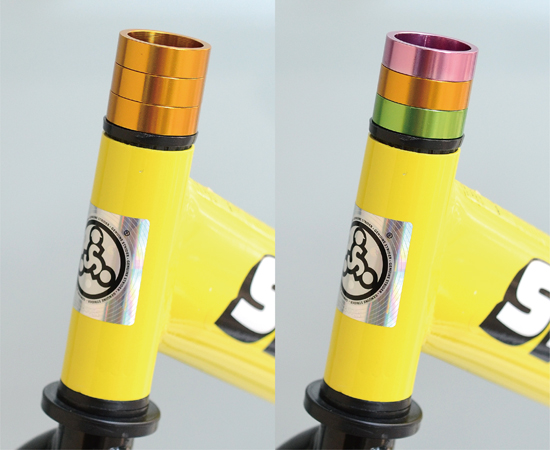
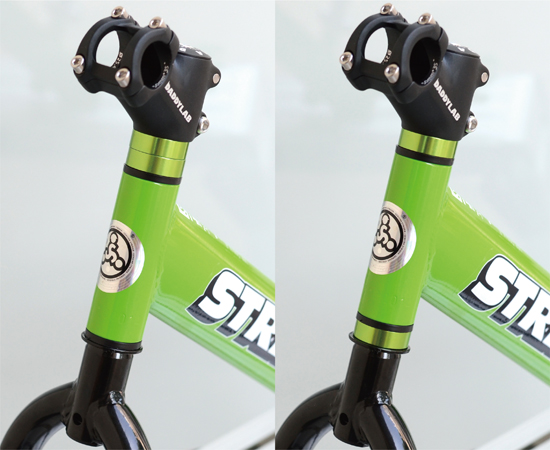
Reference> The insertion position of three spacers is free. It is also possible to assign the insertion position above and below the front post column.
(Left: 2 on the column, 1 on the bottom / right: 1 on the column, 2 on the bottom)
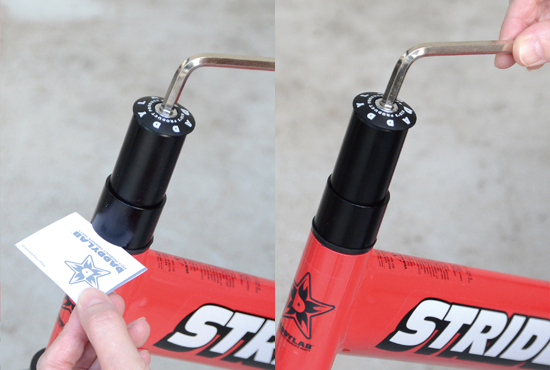
After inserting the adapter, when fixing the anchor bolt using a 6 mm hex wrench, due to the structure, a phenomenon occurs in which the rotation of the front fork post tightens according to tightening of the anchor bolt.→ Result: The movement of the steering wheel becomes dull.
As a moderate adjustment method, hold paper of proper thickness between the main column and the spacer, temporarily tighten once, then remove the paper and perform the final tightening work.